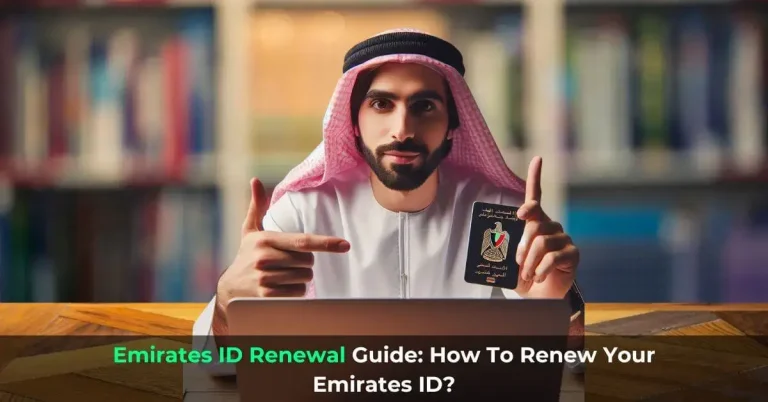
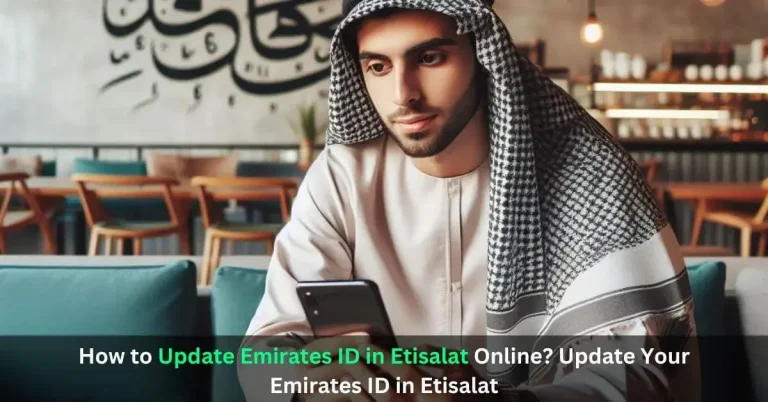
How to Update Emirates ID with DU? DU Emirates ID Update Guide
With DU, updating your Emirates ID is seamless and hassle-free. With the help of DU, a trusted and reliable telecommunications provider, you can update your Emirates ID information conveniently online following “DU Emirates ID Update Guide”.
By using DU for your Emirates ID update, you will save time, simplify the process, and ensure your information is up-to-date and compliant. Learn how DU simplifies the Emirates ID update process and helps you comply more easily.
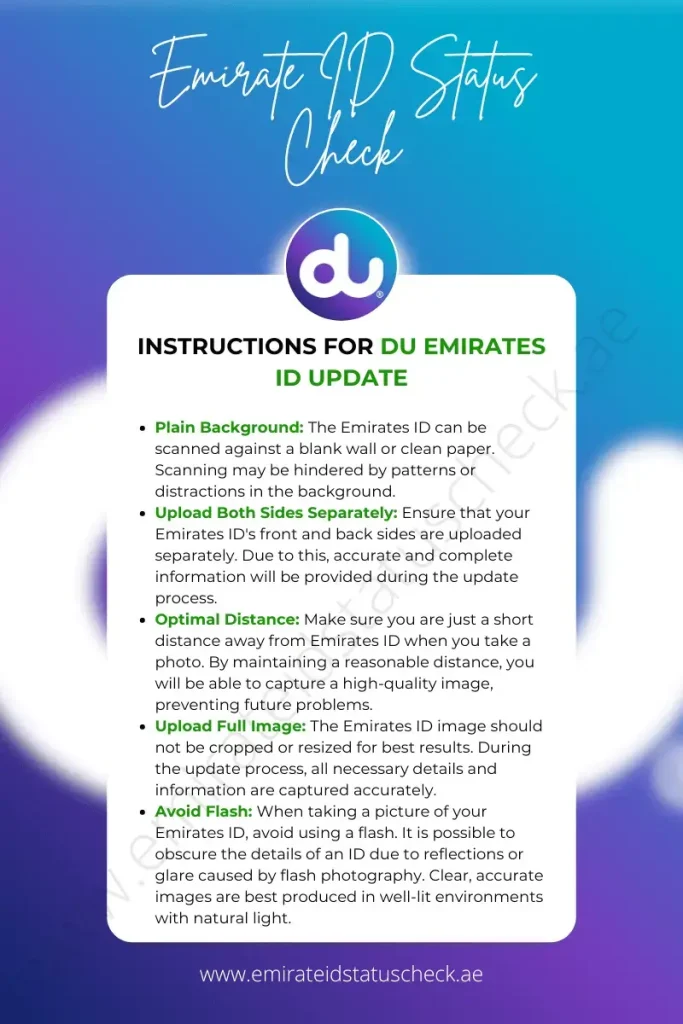
Instructions for DU Emirates ID Update
It is important to pay attention to details of DU Emirates ID Update Guide when uploading your Emirates identification card.
Plain Background
The Emirates ID can be scanned against a blank wall or clean paper. Scanning may be hindered by patterns or distractions in the background.
Upload Both Sides Separately
Ensure that your Emirates ID’s front and back sides are uploaded separately. Due to this, accurate and complete information will be provided during the DU Emirates ID Update process.
Optimal Distance
Make sure you are just a short distance away from Emirates ID when you take a photo. By maintaining a reasonable distance, you will be able to capture a high-quality image, preventing future problems.
Upload Full Size Image
The Emirates ID image should not be cropped or resized for best results. During the update process, all necessary details and information are captured accurately.
Avoid Flash
When taking a picture of your Emirates ID, avoid using a flash. It is possible to obscure the details of an ID due to reflections or glare caused by flash photography. Clear, accurate images are best produced in well-lit environments with natural light.
Note: The information provided here is based on some general guidelines, but for the most up-to-date information, we recommend checking the official resources or contacting customer support.
How To Update Emirates ID In Du?
In order to ensure accurate information and compliance with regulations, ensure that your Emirates ID is up-to-date. You will be guided through the entire process of updating your Emirates ID by following the steps of DU Emirates ID Update Guide below. Updates can be made via the DU website, mobile apps, or DU stores.
Method 1: Updating Emirates ID via the DU Website
The best way to update your Emirates ID from an internet-connected device is to visit the DU website.
Step 1: Access the Official DU Website
You can find the official website by entering “www.du.ae” in your browser’s address bar.
Step 2: Select the “Update ID” section
Find the “Update ID” link in the top-right navigation bar of the du website. You can proceed by clicking it.
Step 3: Register or log in
A new account requires you to provide your phone number, email address, and name and complete the registration process if you still need one.
Step 4: Choose the Emirates ID number
When you successfully log into your du account, you will see all the mobile numbers associated with your account. Choose the number you wish to update with your Emirates ID.
Step 5: Identity Check
By entering the verification code from the SMS into the specified field on the website, you can verify your identity and confirm access to the selected mobile number.
Step 6: Upload your Emirates ID
Upload a clear, legible picture of your Emirates ID according to the instructions on the du website.
Step 7: Verify Emirates ID
After uploading the Emirates ID image, ensure that your name, date of birth, and other details are accurate. Discrepancies should be reported to Du’s customer service.
Step 8: Register your mobile number
In the event that you have more than one registered phone number, your Emirates ID will prompt you to choose which number you wish to update.
Step 9: Note the Reference Number
A reference number will be generated when you submit a request to update your Emirates ID. Remember the reference number by taking a screenshot.
Step 10: Wait for Confirmation
Your Emirates ID update status will be notified within 48 hours of submitting your application.
Method 2: Updating Emirates ID via the du Mobile App
In addition to making updating your Emirates ID convenient, the du mobile app is also user-friendly and efficient for DU Emirates ID Update. The du mobile app allows you to update your Emirates ID similarly to the du website.
Step 1: Download the du Mobile App
For Android users, go to the Google Play Store. For iOS users, go to the Apple App Store. Find the official app for “du” by searching for it. You can download and install it here.
Step 2: Log in or Register a New Account
Using the app on your mobile device, log in with your existing credentials. Registration is required if you don’t already have an account.
Step 3: Visit Your Profile
Within the Du app, you can access your profile information by tapping on the settings or profile section. This section is usually indicated by a portrait or a gear icon.
Step 4: Select “Update ID” Option
The “Update ID” option can be found within your profile section. There may be a separate category for it or it may be nested within another category of personal identification or information.
Step 5: Verify Your Mobile Number
To complete the Emirates ID update process, verify your mobile number. You will receive a verification code by SMS when you enter your mobile number. Please enter the code in the field provided.
Step 6: Upload Your Emirates ID
As soon as your mobile number is verified, you will be asked to upload a picture of your Emirates ID. Follow the instructions provided within the app to upload a photo of your ID.
Step 7: Await Confirmation
After successfully submitting your Emirates ID update request, you will receive an update notification via SMS or email within 48 hours.
Method 3: Updating Emirates ID at du Stores
If you need assistance with an Emirates ID update, you can visit a du store. Before visiting the store, be sure to bring all your necessary documents, including your Emirates ID card and passport.
Step 1: Collect documents
Prepare your Emirates ID and passport before visiting the store to simplify the update process.
Step 2: Visit a du Store
On the du app or website, search for your nearest store and pay a visit during operating hours. Make sure you check the store timings beforehand.
Step 3: Request an Emirates ID Update
If you’re at the Du store, ask the staff for help updating your Emirates ID. Assisting customers with services, such as Emirates ID updates, is part of their training.
Step 4: Provide the Required Information
Verify your identity, verify your Emirates ID details with the documents provided, or update your information in the system if necessary. Make sure you provide accurate information and remain attentive.
Step 5: Complete the Process
You will need to follow the instructions provided by the store staff in order to update your Emirates ID. Your details will be verified, and documents will be signed as necessary.
Step 6: Confirmation and Next Steps
At the du store, you will receive confirmation of your Emirates ID update. If you have any further questions or need assistance with related services, please ask the staff.
That’s all from our DU Emirates ID Update Guide.
FAQs
Summary
Emirates IDs can easily be updated through Du’s website, mobile app, or store through our “DU Emirates ID Update Guide”. When uploading Emirates IDs, there are a few important guidelines to follow. Upload both sides separately, maintain a comfortable distance from your camera, and avoid flash. These tips will help you update your Emirates ID easily.

About Author
Sheikh Suleman is an SEO Expert and Legal Services Consultant who has lived in various countries of Gulf since 2018. He’s providing services related to ID and Visa.
He has started this website in order to provide information on ID and Visa Services to all the people who are living in Gulf or wishing to relocate to there.